In order for this procedure to work, you must first own at least one pre-existing skull. In this tutorial, I will be working with two different skulls. One large latex/foam skull, and a smaller hard plastic on. Both were purchased at my local Big Lots store for only a few dollars. I must also add that instead of actual hours of time for this project, I have guaged it against a more realistic measure of effort; the soundtrack to the Rocky Horror Picture Show.
Material List:
The materials used for this construction include a hot-glue gun, glue sticks, aluminum foil, white, off-white, and black acrylic paint, a jar of india ink and a hobby knife or razor blade.
| Step 1:
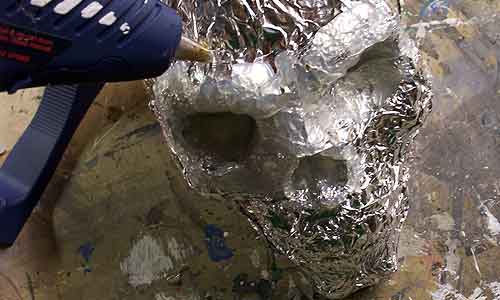
Start the Rocky Horror Picture Show CD. Cover the skull that you wish to reproduce with aluminum foil. Be sure to wrap the foil around the bottom also, as you will need this area for support later. I usually cover the entire back with one large piece and use smaller separate pieces for the eyes and nose. You may have to work the foil in order to get all of the textures that you desire. If you are using several pieces of foil, sometimes it helps to put a small “dot” of hot glue to keep the aluminum foil from shifting around.
Tip: To keep the foil from tearing, I wrap it loosely around my finger before putting it in the eye socket. This keeps the foil from tearing when you smooth it into the socket.
|

| Step 2:
Once the skull is completely covered in foil, begin covering it with the hot glue. I always do the eye sockets first so that I don’t have to work around other areas to reach in there later. Trust me.... Do the eye sockets first or you will get messy. Once the eyes are finished, move on to other areas of the skull. Although I’m sure other techniques will work, I always move the tip of the glue gun in small circles while applying the glue. This lets the tip of the gun to “stir” into the glue that you already applied and keeps the skull from having visible seams of glue.
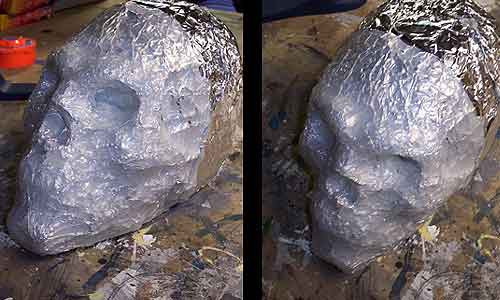
You will undoubtably notice that there will be pits where the glue is thicker or thinner than adjoining areas. That’s okay because it give a creepy texture to the skull that will really come out once you start painting it.
|
| Step 3:
Continue applying the hot glue in small patches until you have the top and sides of the skull covered. Once that the glue is hard to the touch, turn the skull over and begin working on the bottom. THERE IS NO NEED TO COVER THE ENTIRE BOTTOM WITH GLUE. You only need to use enough glue on the bottom to create a strong ridge along the bottom edges. This ridge is what will support the weight of the finished skull.
Step 4:
Allow the skull to completely cool down. This usually only takes about three or four minutes.
|
| Step 5:
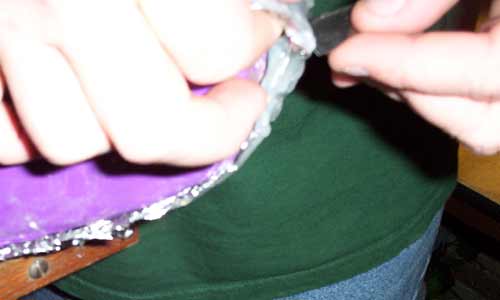
With a X-acto knife or single edged razor, carefully slice through the skull and aluminum foil from the back edge to the crown of the skull. Be careful, this project isn’t worth loosing a finger.
|
CONTINUE TO PAGE 2
|