| VLAD Construction: The Body and Neck
|
|
Step 1:
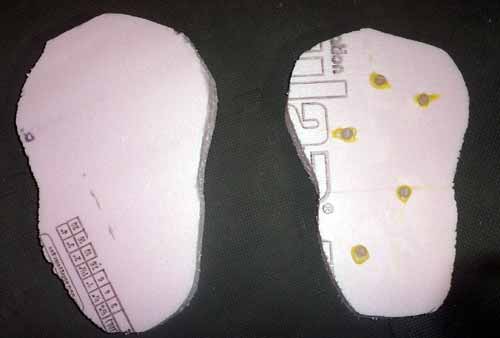
Vlad's body is made of high density Styrofoam that is made for insulation. First, trim the foam into the approximate shape of the body. Place the shape on top of the remaining foam and trace around it with a permanent marker. This will allow you to cut another body section that will match the first. Using a coping saw or hot wire cutter, trim out the second half of the body.
Step 2:
In order to strengthen the bond when the two pieces are glue together, drill five or six once inch holes using a 1/2" drill bit. Cut a few of your hot glue sticks into two inch pieces. Apply "Gorilla Glue" to one end of the glue stick and insert it into the hole. Repeat this procedure until all holes are filled. Allow 24 hours for the glue to dry.
|

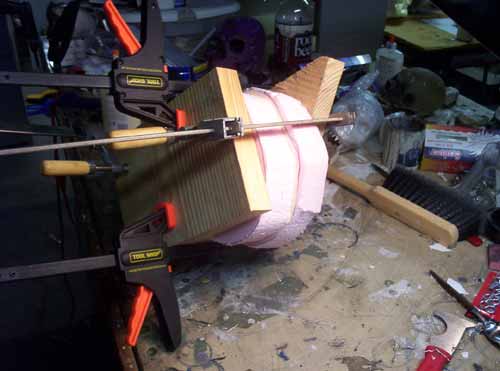
| Step 3
Press the second body piece onto the first. Put enough pressure on it that the glue sticks will be slightly indented into the second piece. Don't press too hard, since you are only doing this to determine where the holes should be drilled. Turn the second piece over and drill holes into it in the same manner as the first piece. Apply "gorilla Glue" to the exposed glue sticks and the interior surface of the first piece. Press the two pieces together and apply clamps. I used two pieces of scrap lumber to strengthen the form, otherwise the claps might have crushed the foam. This forms the body of the creature. Allow at least 24 hours for the glue to dry.
|
| Step 4:
The Neck:
Finding a suitable material for the neck is the toughest task in this procedure. I used a hard plastic mailing tube that was laying around in my office, but I think a heavy cardboard tube would also work.
|
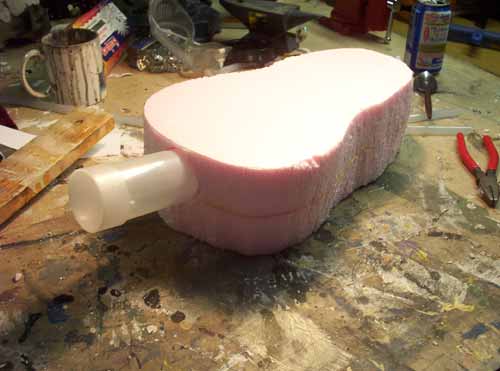
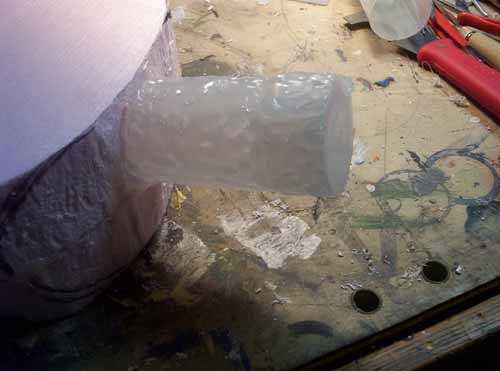
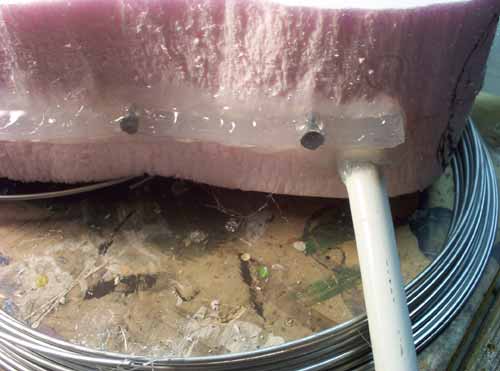
| Step 5:
Drill through the neck area of the body with a lock drill bit (like a saw that is used to drill holes in doors for the locks). Insert the plastic "neck" and glue in place. Also be sure to cover the surface in glue just like you have done for all other elements of VLAD (shown below).
|
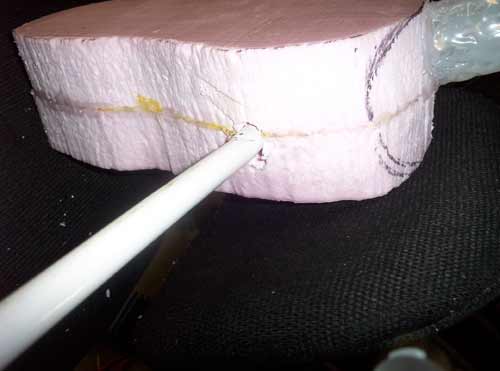
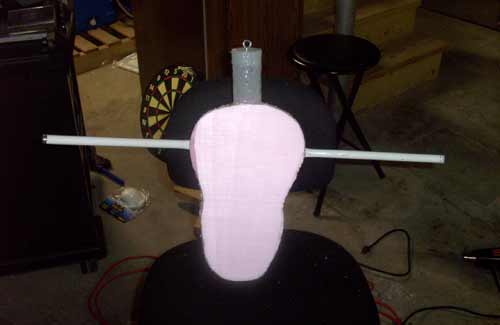
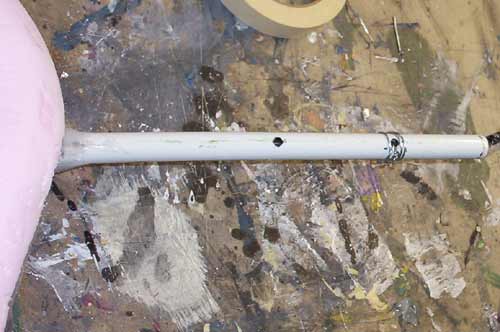
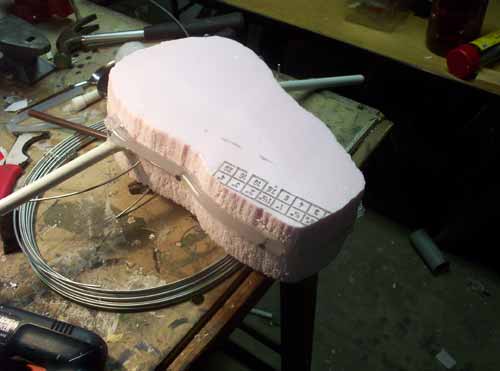
| Step 6:
Next, take a 4' steel tube (mine was originally one of the legs from an old, wind-up baby swing) and insert it through the body as shown in the photos below.
Bend each side of the steel bar upwards. Be careful not to damage the body while dong this. I actually placed the portion of the bar closest to the body in a vice while I bent it.
Drill two holes about six inches apart into each side of the bar. These will be used to secure the wings in a later step.
|
| Step 7:
Realizing that I needed some way to connect the plastic wing material (the tablecloth) to the body, I attached a few long hot glue sticks down both sides of the body. In addition to gluing them in place, I secured them with several drywall screws also, and covered the screws with additional hot glue for support.
|
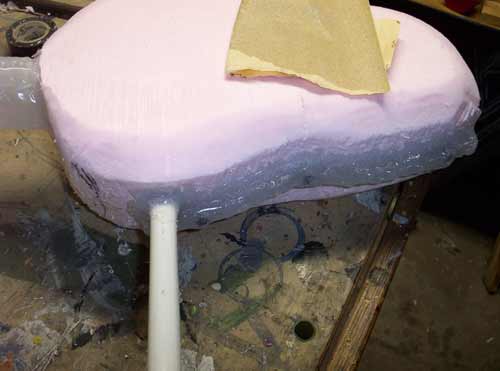
| Step 8:
Using sandpaper or a hand sander, smooth out any blemishes on the body. Round off all of the corners so that the "squareness" of the body isn't noticeable.
|
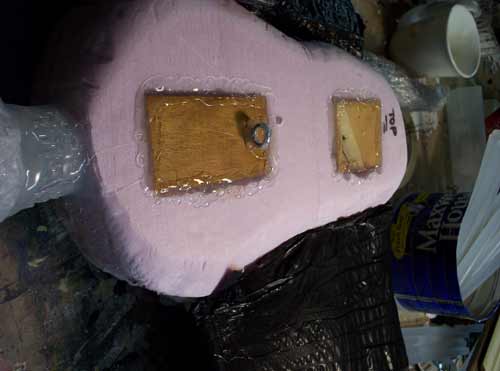
| Step 9:
By this time, the project was starting to get heavy, and I realized that I needed some way to hang it that would cause strain on the body, especially after the wings would be attached. I cut some scrap plywood into small pieces and laid them on the top of the body. I then traced around them and carved into the Styrofoam until I had an area where the boards could be placed and remain flush with the surface.
The boards were Gorilla Glued into place and any open areas were filled in with hot glue. Then I screwed a large eyelet into each of the boards.
|
CONTINUE TO PAGE 4
What do you think? Contact me and let me know by clicking here.
|